Introduction:
Bringing natural light into your home can transform any space, and Velux windows are renowned for their ability to do just that. Installing these roof windows not only brightens up a room but also enhances ventilation and energy efficiency. In this guide, we will walk you through the step-by-step process of installing Cambridgeshire velux windows, ensuring a successful and satisfying project.
Materials and Tools:
Before you start the installation, gather all the necessary materials and tools. You’ll typically need a Velux window kit, a saw, a drill, a level, a hammer, a pry bar, a tape measure, a pencil, roofing felt, a staple gun, and roofing nails.
Step 1: Measure and Plan
Begin by measuring the rough opening on your roof where the Velux window will be installed. Ensure accurate measurements to guarantee a snug fit. With the measurements in hand, mark the center of the opening using a pencil, providing a reference point for the window installation.
Step 2: Cut the Opening
Using a saw, carefully cut along the marked lines to create the rough opening for your Velux window. Exercise caution during this step to prevent damage to the roof structure. Once the opening is cut, remove any debris and check the dimensions to ensure they match the Velux window specifications.
Step 3: Install the Flashing
Apply the appropriate flashing kit provided by Velux to ensure a watertight seal around the window. Start with the bottom flashing, securing it with roofing nails. Move on to the side and top flashings, overlapping them correctly to channel water away from the window. Trim any excess flashing material with a utility knife.
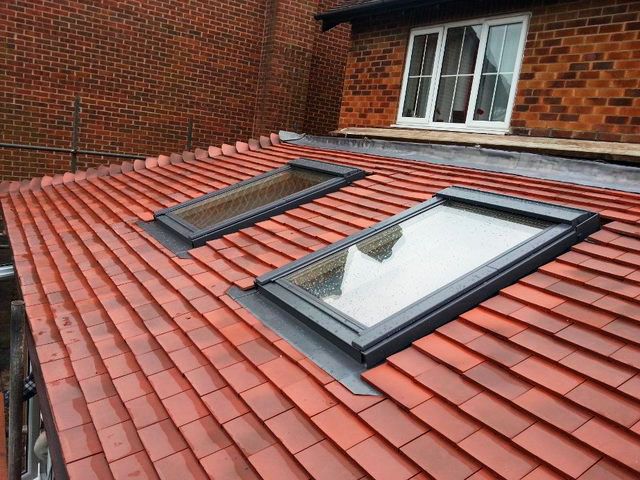
Step 4: Mount the Velux Window
With the flashing in place, carefully position the Velux window into the rough opening. Ensure that the window is centered and level before securing it in place. Use the screws provided by Velux to attach the window frame to the roof structure, ensuring a secure fit.
Step 5: Insulate and Seal
To enhance energy efficiency and prevent drafts, apply insulation around the window frame. Use expanding foam or fiberglass insulation, ensuring it fills any gaps between the window and the roof structure. Seal the edges with a high-quality roofing sealant to create a weatherproof barrier.
Step 6: Install the Insulation Collar
Velux windows often come with insulation collars that fit snugly around the frame. Install the insulation collar according to the manufacturer’s instructions, securing it in place with screws. This additional layer of insulation helps maintain a comfortable temperature inside your home.
Step 7: Complete Interior Finishing
Finish the interior by attaching the provided interior frame or trim. This not only enhances the aesthetic appeal but also conceals any gaps between the window and the interior wall. Follow the manufacturer’s instructions for securing the interior finishing elements.
Conclusion:
Installing Velux windows can be a rewarding DIY project, significantly improving the natural light and ventilation in your home. By carefully following these step-by-step instructions and adhering to Velux’s guidelines, you’ll enjoy the benefits of a brighter, more inviting living space while ensuring a professional and watertight installation.
